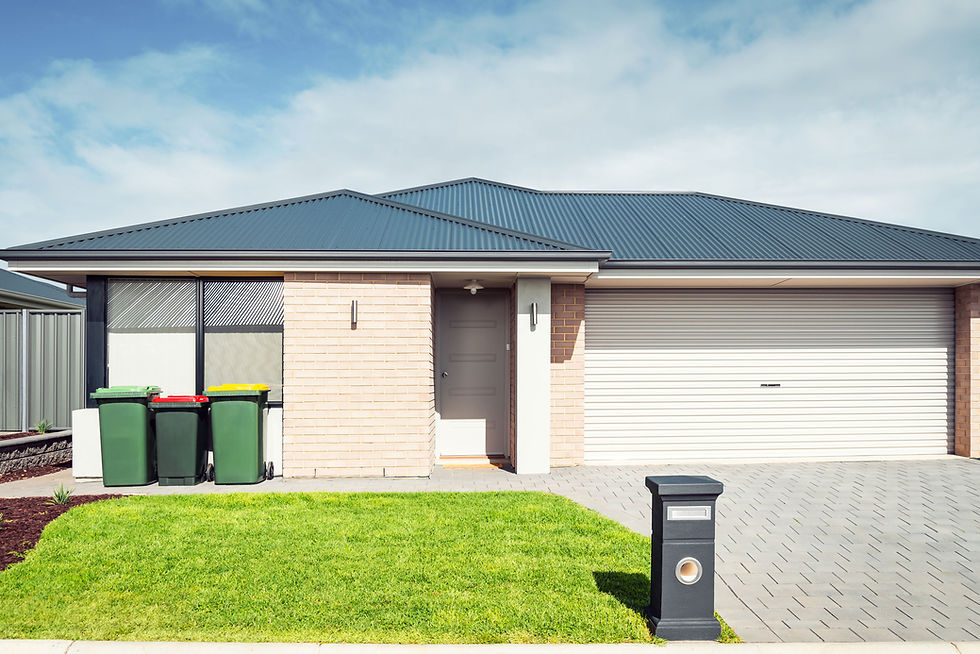
Metal Roof Installation: What Homeowners Need to Know
- Dardanoi Group
- May 29, 2024
- 3 min read

Metal roofs are becoming increasingly popular among homeowners due to their durability, energy efficiency, and aesthetic appeal. However, installing a metal roof involves several crucial steps and considerations. This guide will walk you through what you need to know about metal roof installation to ensure a successful and lasting upgrade for your home.
Benefits of Metal Roofing
Before diving into the installation process, it’s essential to understand why many homeowners choose metal roofing:
Durability: Metal roofs can last 40-70 years, depending on the material. They are resistant to corrosion, cracking, and impact.
Energy Efficiency: Metal roofs reflect solar radiant heat, reducing cooling costs by 10-25%.
Environmentally Friendly: Metal roofs are often made from recycled materials and can be recycled at the end of their lifespan.
Weather Resistance: Metal roofs can withstand extreme weather conditions, including high winds, heavy rain, and snow.
Types of Metal Roofing Materials
Aluminum: Lightweight, corrosion-resistant, and ideal for coastal areas.
Steel: Durable and often coated with a zinc or zinc-aluminum alloy for added protection.
Copper: Long-lasting and develops a unique patina over time, but is more expensive.
Zinc: Naturally resistant to corrosion and self-healing, but also on the pricier side.
Preparing for Installation
Assessment and Planning
Roof Inspection: Assess the current roof’s condition to ensure it can support the new metal roofing.
Permits: Check with local authorities to determine if you need permits for the installation.
Measurements: Accurately measure your roof to order the correct amount of materials.
Removing the Old Roof
Tear-Off: While some metal roofs can be installed over existing shingles, it’s often recommended to remove the old roofing to inspect the roof deck for damage.
Inspecting and Repairing the Roof Deck
Deck Inspection: Ensure the roof deck is in good condition and make any necessary repairs.
Underlayment: Install a quality underlayment to provide an extra layer of protection against moisture.
Installation Process
Laying the Underlayment
Start by laying the underlayment, ensuring it is flat and wrinkle-free. Secure it with staples or roofing nails.
Installing the Metal Panels
Cutting Panels: Cut the metal panels to fit your roof dimensions, allowing for overhang at the edges.
Positioning Panels: Begin at the eaves and work upwards. Ensure panels are straight and aligned correctly.
Fastening Panels: Use screws specifically designed for metal roofing. Place screws in the flat areas of the panels to prevent leaks.
Seaming: For standing seam roofs, connect panels at the seams using clips and fasteners.
Adding Flashing and Trim
Flashing: Install flashing around roof penetrations (chimneys, vents) to prevent water ingress.
Ridge Caps: Install ridge caps along the roof peak to protect seams and provide a finished look.
Edge Trim: Add edge trim to cover the edges of the roof panels and enhance appearance.
Finishing Touches
Sealing: Apply sealant to joints and seams for added waterproofing.
Cleanup: Remove any metal scraps and ensure the work area is clean.
Post-Installation Considerations
Inspection
Conduct a thorough inspection to ensure all panels are secure, flashing is properly installed, and there are no gaps or exposed areas.
Maintenance
Regular maintenance is crucial to prolonging the life of your metal roof. Inspect your roof periodically for signs of damage, clean gutters, and remove debris.
Warranty
Understand the warranty provided by your roofing material manufacturer and the installer. Keep documentation handy for future reference.
Installing a metal roof is a significant investment that can enhance the durability, energy efficiency, and curb appeal of your home. By understanding the installation process and preparing adequately, homeowners can ensure a successful project that delivers long-term benefits. Whether you opt for aluminum, steel, copper, or zinc, a properly installed metal roof can provide peace of mind and lasting protection for your home.


Comments